Last week, we explored what home performance is and why it matters. Home Performance is determined by how well a home supports the five performance pillars: Safety, Comfort, Operations, Resilience, and Energy. If things like high energy bills or uncomfortable rooms are getting you down, simple home efficiency upgrades could be the fix. These changes can help improve home comfort, reduce home energy costs and even protect your health. Now, let's get practical. In this post, we'll cover DIY ideas, their payoffs, and tips for renters and buyers too.
Looking to make a bigger impact on your home’s performance? Check out our post on the top Professional Home Efficiency Upgrades that Boost Home Performance.
Safety upgrades focus on keeping your indoor environment clean and free from hidden dangers that can affect your family's health. For instance, poor indoor air quality can worsen conditions like asthma, which impacts 24.7 million adults in the U.S. (CDC). By improving air flow and reducing pollutants, these upgrades can help create a healthier space to live.
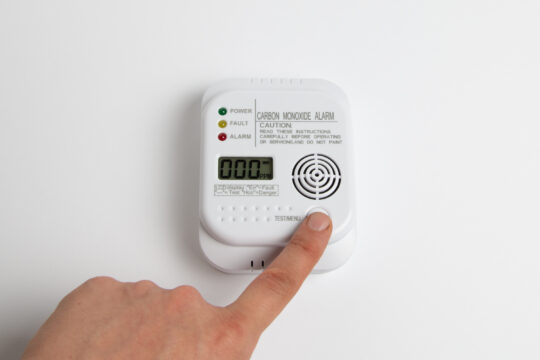
These devices sense dangerous, invisible gases (carbon monoxide or CO) that you can’t smell or see. Installing carbon monoxide (CO) detectors improves home performance by alerting you early to potential leaks from fuel-burning appliances such as gas stoves, furnaces, water heaters, or fireplaces, preventing serious health risks or death.
Placement: Plug in or install a CO detector on every floor of your home, especially near bedrooms and in areas where fuel-burning appliances are located (e.g., the kitchen, basement, or near the garage).
Maintenance: Test these devices monthly to ensure they’re working, replace batteries as recommended, and replace the entire unit every 5-7 years (or as directed by the manufacturer).
What to Do if the Alarm Sounds: Evacuate all people and pets immediately. Call your utility provider or the fire department to inspect your home for leaks. Never return indoors until professionals confirm it is safe.
Recommended Models: CO detectors are sold as stand-a-lone devices or as a combination smoke alarm. Check the smoke alarm models in your home to see if they already have CO detectors included. If they do not, Check ENERGY STAR standards for reliable models.
Worth keeping in mind for DIYers: Many CO monitors are intended to detect high levels of CO that can cause imminent harm. Low-level CO poisoning is also a risk. See the “Indoor Air Quality Monitors” section where you can find monitors that include measuring different levels of CO over time.
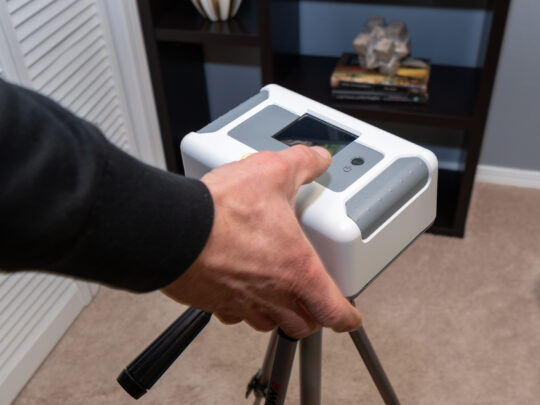
Radon is an odorless, tasteless, and invisible gas that leaks into your home through cracks in the foundation or basement. It harms home performance by accumulating indoors, especially in poorly ventilated spaces, and can contribute to long-term lung cancer risks.
How to Test: Use a radon test kit in the lowest occupied level of your home. Short-term kits provide results after a few days, while long-term kits measure levels over weeks or months for more precise data.
What to Do with Results: If radon levels are elevated (4 picocuries per liter [pCi/L] or higher according to the EPA), confirm with a retest. For continued elevated levels, consult with radon mitigation professionals. Look for those certified by the National Radon Proficiency Program (NRPP) or the National Radon Safety Board (NRSB) to ensure proper and effective remediation.
Recommendations: Refer to EPA guidelines for advice on safe radon levels and ongoing prevention.
Worth keeping in mind for DIYers: Radon levels often vary throughout the day and throughout the year. As with CO monitors, see the “Indoor Air Quality Monitors” section where you can find monitors that include measuring different levels of radon over time.
For more information, read our Healthy Home Tips: 4 keys to Better Indoor Air Quality
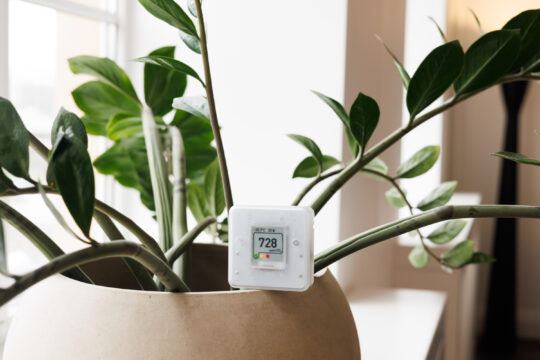
For a holistic approach, Indoor air quality (IAQ) monitors can give you real-time tracking of the levels of multiple pollutants, humidity, and other factors affecting the comfort and safety of your home environment. They are a proactive tool for improving home performance and addressing a wide range of indoor air quality concerns.
Carbon dioxide (CO₂): High levels can indicate poor ventilation.
Volatile organic compounds (VOCs): Harmful chemicals released by paint, cleaning products, and furniture.
Particulate Matter (PM2.5): Small particles from dust, smoke, and allergens that can affect lung and heart health.
Humidity: Helps prevent mold growth and maintain comfortable indoor conditions.
Maintenance Suggestions: Place IAQ monitors around your home especially in the main living areas or bedrooms where people spend the most time. Look for devices that integrate with smart home platforms (i.e: Amazon Alexa, Google Home, etc.) to provide automatic alerts and actionable tips.
Worth keeping in mind for DIYers: Different IAQ monitors measure different types of pollutants - with different types of sensors and accuracy levels. As with most technology, IAQ monitors continue to improve to expand the types of pollutants they can monitor, as well as the accuracy in doing so. You can find more guidance here from the U.S. Environmental Protection Agency.
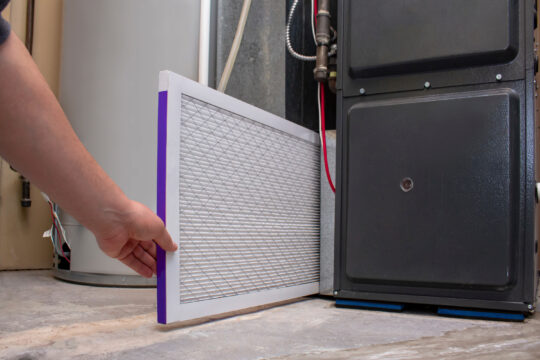
Air filters, such as HEPA or MERV-rated options, are replaceable components in HVAC systems that capture dust, pollen, and other airborne particles. They improve indoor air quality by reducing pollutants that can aggravate allergies or respiratory conditions. This upgrade is a simple yet effective way to support health and system efficiency.
Installation: Replace existing HVAC filters with HEPA (High-Efficiency Particulate Air) or high-MERV (Minimum Efficiency Reporting Value) rated filters. Check your system’s compatibility and size requirements.
Maintenance: Change filters every 1–3 months, or more frequently in high-dust environments, to maintain optimal performance.
Benefits: Reduces allergens and improves air flow, potentially lowering energy costs by helping your HVAC run more efficiently.
Tip for Renters: Use portable air purifiers with HEPA filters if HVAC access is limited.
Worth keeping in mind for DIYers: Your air filter needs to match your HVAC system - not just the size of the filter, but whether the HVAC system can handle a higher-MERV filter without restricting airflow. Reduced airflow can result in a number of problems - including comfort problems, higher energy bills, and even equipment degradation and higher maintenance costs.
Comfort upgrades focus on creating a more enjoyable, consistent, and welcoming indoor environment for your family. Whether it’s eliminating drafts, maintaining steady temperatures, or breathing fresher air, these upgrades enhance your day-to-day experience while supporting energy efficiency and well-being. Below are recommendations to help improve home comfort.
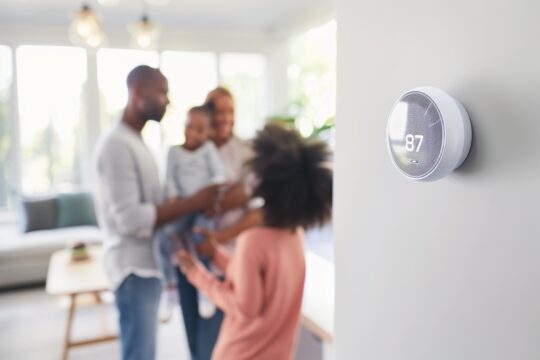
A major component of home performance is maintaining optimal indoor temperature and air circulation. These devices can learn your habits and optimize settings for efficiency.
Why It Matters: A smart thermostat not only helps reduce energy consumption but can also enhance indoor air quality by improving airflow when paired with an effective HVAC system.
Tip for Better Performance: Ensure your HVAC system uses high-quality HEPA filters and schedule regular maintenance to ensure efficient operation.
Worth keeping in mind for DIYers: Before installing a smart thermostat, confirm that your HVAC system is compatible and that you have the proper wiring in place. Some systems—especially older ones—may require an adapter or professional installation to work correctly.
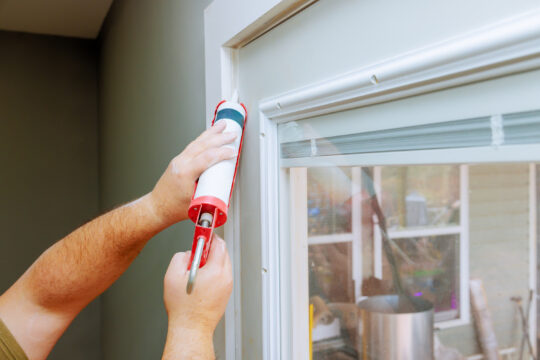
Air leaks and inadequate insulation are two of the biggest factors in cold spots, drafts, and inconsistent indoor temperatures.
Seal Air Leaks: Use weatherstripping, caulk, or spray foam to seal gaps around windows, doors, and vents. This prevents conditioned air from escaping and outdoor air from creeping in.
Upgrade Insulation: Install or replace insulation in key areas like the attic, walls, or crawl spaces to stabilize temperatures year-round. Choose energy-efficient materials such as spray foam or rigid foam insulation for optimal results. Use tools like the award-winning app from Pearl to identify available tax credits and rebates to help make projects like these more affordable.
Benefits: Prevents drafts, eliminates cold spots, and helps heating/cooling systems work more efficiently.
Worth keeping in mind for DIYers: Air sealing and insulation projects often require working in attics, crawl spaces, or other tight areas—make sure you have proper safety gear and adequate ventilation. If your home has older insulation, check for signs of asbestos or pest damage before disturbing it. The most thorough and effective air sealing projects require a professional who understands blower-door guided air sealing and how to design and install mechanical ventilation. You can find more information on the ENERGY STAR Seal & Insulate webpages.
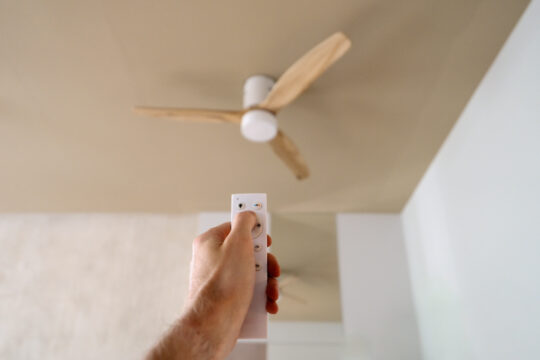
Ceiling fans enhance airflow, keeping you comfortable in both warm and cool seasons.
Cool Mode (Summer): Set fans counterclockwise for cooling airflow during hot months.
Warm Mode (Winter): Switch fans clockwise to circulate warm air that rises to the ceiling.
Upgrade to Smart Fans: Modern smart fans can integrate with home automation systems to adjust automatically based on temperature or air quality levels.
Worth keeping in mind for DIYers: Ceiling fan installation may require working on a ladder and handling electrical wiring. Always turn off power at the breaker before starting, and use a fan-rated electrical box to ensure safety and stability.
For an economical option, install thermal curtains throughout your home. These are thick window coverings that block cold or heat. They can boost home performance by keeping indoor temps steady, cutting the need for extra heating or cooling. ENERGY STAR has tips on energy-saving window treatments.
Worth keeping in mind for DIYers: Thermal curtains work best when they fully cover the window frame and are installed close to the wall to reduce air leaks. For renters, they can be an easy, non-permanent way to improve comfort without altering the home’s structure.

These upgrades focus on improving energy and water efficiency to lower utility bills. The average U.S. household spends $2,200 annually on utilities, and inefficiencies like leaky fixtures or outdated appliances can add hundreds to costs. These DIY solutions are cost-effective and align with the Operations pillar’s focus on efficient home systems.
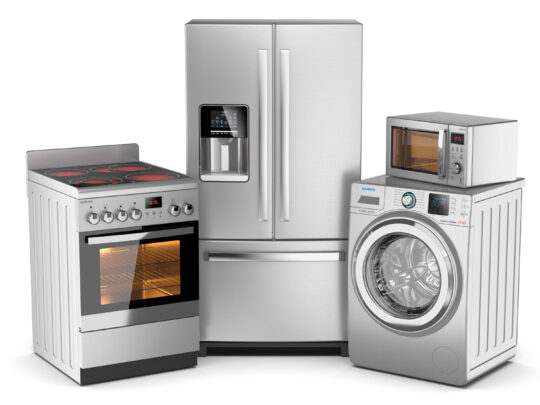
ENERGY STAR appliances, including refrigerators and dishwashers, are designed for superior efficiency in energy and water use. They reduce the impact of high bills from less efficient models, offering reliable performance and savings over time.
Worth keeping in mind for DIYers: ENERGY STAR certified products are third-party tested for more than just energy use - specifications also require that the product does not sacrifice on other performance characteristics, such as sound levels.
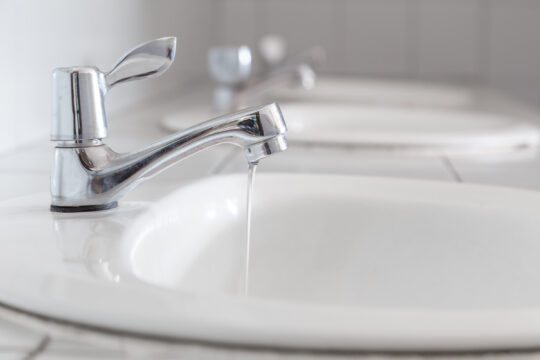
WaterSense fixtures, such as faucets and showerheads, are engineered to conserve water while delivering effective flow. They mitigate waste from outdated or leaking components, which can lead to unnecessary water usage, helping to manage costs and support sustainable use. This is a direct way to improve household efficiency.
Installation: Swap out old shower heads and faucets with WaterSense models using basic tools. Low-flow toilets may require landlord approval for renters.
Benefits: Saves up to 20% on water bills and reduces strain on plumbing systems.
Worth keeping in mind for DIYers: As with ENERGY STAR, WaterSense products are labeled on more than just water usage, but on providing exceptional performance.
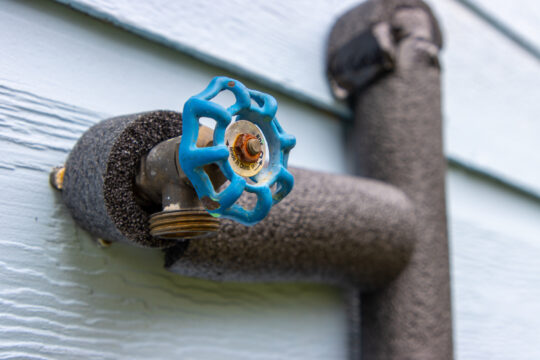
Pipe insulation encases hot water lines to retain heat during delivery throughout your home. It addresses losses that force water heaters to work harder, resulting in higher energy use and longer wait times for hot water. This measure is an effective addition for better system performance.
Installation: Wrap exposed pipes in basements or crawl spaces with foam pipe insulation sleeves, available at hardware stores.
Benefits: Reduces water heating costs by 3–4% and delivers hot water faster.
Worth keeping in mind for DIYers: Pipe insulation is a straightforward project, but ensure the material you select matches your pipe diameter.
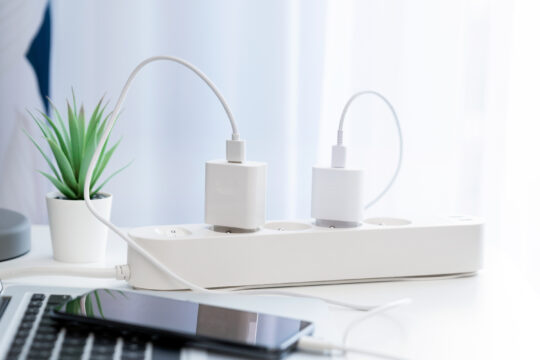
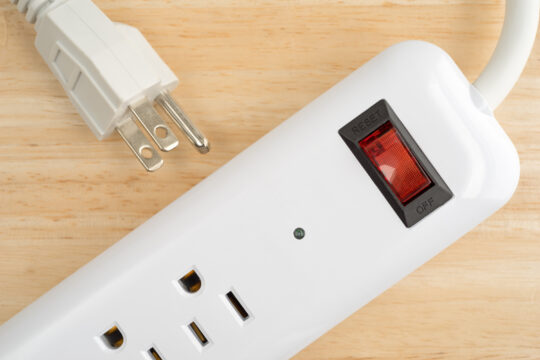
Smart power strips are outlets that automatically manage energy to connected devices, shutting off power to idle electronics. They eliminate standby consumption, which contributes to excess electricity costs, providing a simple means to enhance operational efficiency. This is useful for controlling multiple devices.
Why It Matters: Eliminates standby power consumption, saving $10–$50 annually.
Worth keeping in mind for DIYers: Some electronics, like DVRs or routers, need continuous power to function properly—make sure to plug these into the strip’s “always on” outlets if available.
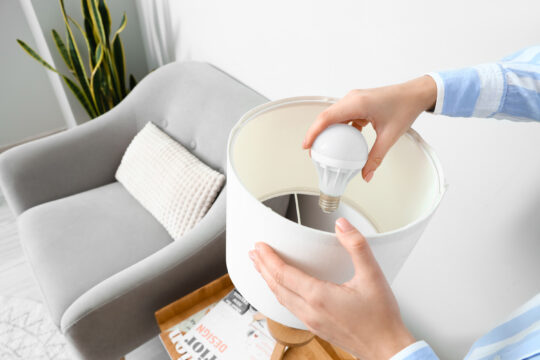
LED bulbs are energy-efficient lighting options that consume significantly less power than traditional incandescent bulbs. They address high energy use and heat generation from outdated lighting, contributing to lower utility bills and improved operational efficiency.
Installation: Replace incandescent or CFL bulbs with ENERGY STAR-certified LEDs in fixtures throughout your home.
Benefits: Saves $50–$100 annually on electricity and lasts up to 25 times longer.
Worth keeping in mind for DIYers: LED bulbs come in different color temperatures and brightness levels—check the Kelvin rating and lumens to match your lighting preferences and avoid mismatched lighting across a room.
Resilience upgrades prepare your home for natural disasters like floods, storms, or wildfires. These DIY solutions enhance durability and safety, ensuring your home withstands extreme conditions.
Plugs that shield from power spikes. They safeguard home performance by protecting appliances during storms. Plug in like an extension cord—easy safety net. Refer to UL standards for certified protectors.
Worth keeping in mind for DIYers: Not all surge protectors are created equal—look for one with a high joule rating and indicator lights that show it’s still providing protection. Replace them after a major surge event.
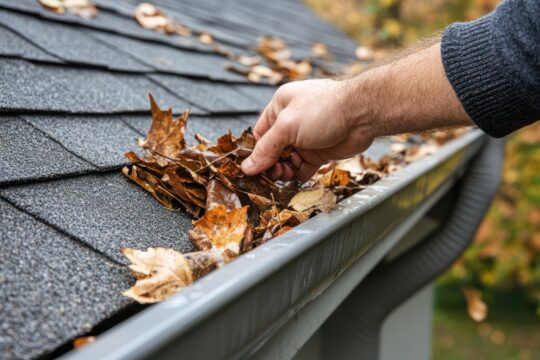
Gutter maintenance and extensions direct rainwater effectively away from your foundation. They mitigate flooding risks that could compromise basements or structural bases during heavy rainfall, supporting overall stability.
Maintenance: Clean gutters biannually to remove debris. Attach 5–10-foot extensions to direct water away from the foundation.
Alternative: Install a permanent gutter guard system to avoid the need to have your gutters routinely cleaned.
Worth keeping in mind for DIYers: Working on ladders can be dangerous—always have a spotter and use ladder stabilizers when cleaning gutters or attaching extensions.
Firewise landscaping manages vegetation to create a buffer against wildfires around your property. It reduces the potential for fire to spread from surrounding areas, protecting your home in dry or forested locations. This practice is essential for wildfire vulnerability.
How to Implement: Clear dead vegetation, trim branches 6–10 feet from the ground, and use gravel or stone near the home instead of mulch. Ensure all tree branches that overhang the roof are removed and any tree canopy is a minimum 10 feet from any chimney or structure
Worth keeping in mind for DIYers: Trimming large branches can be dangerous- causing harm to people and property if not handled properly. Consider engaging a professional to handle tree trimming that can not be done with a ladder and hand-held, motorless trimming sheers.

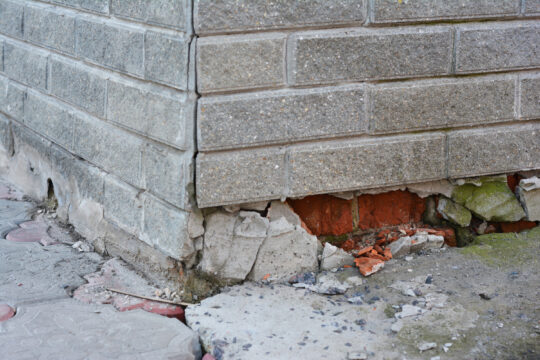
Ground will often settle which, over time, can result in water running towards - not away from - your home’s foundation. Routinely inspect the grade around your foundation and make sure it has a proper fall away from your home and excessive rainfall can readily flow away from your home.. This DIY project is a proactive step for homes vulnerable to moisture intrusion or heavy rainfall. Newly constructed homes can often see significant settling in just a few months - but settling or erosion also exists in older homes resulting in an improper grade.
Worth keeping in mind for DIYers: Avoid piling soil or mulch against siding, as this can trap moisture and invite pests.
Energy upgrades focus on generating, storing, and managing energy to reduce reliance on the grid and lower costs. While more advanced upgrades like installing a solar system with battery storage would have a major impact on a home’s ability to manage its energy usage, these DIY solutions offer accessible ways to boost energy efficiency and work toward energy independence.
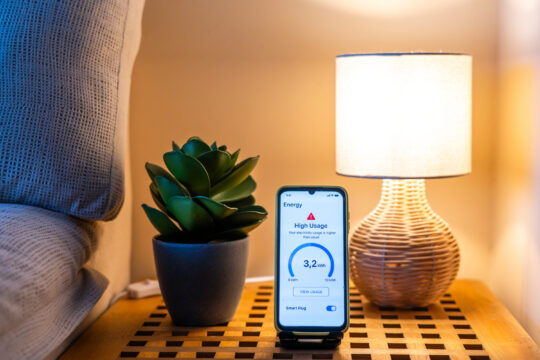
Smart plugs are connected outlets that enable monitoring and control of device energy use through an app. They manage standby power from electronics, reducing unnecessary draw that increases bills, for more effective energy oversight. This is a versatile tool for daily efficiency.
Installation: Plug devices into smart plugs compatible with Alexa or Google Home. Use apps to monitor usage and schedule power cycles.
Benefits: Identifies energy-hogging devices, saving $20–$50 annually.
Tip for Buyers: Ask about smart home integrations to assess energy management potential.
Worth keeping in mind for DIYers: Some appliances should not be powered down with a smart plug. Use monitoring mode only for these items.
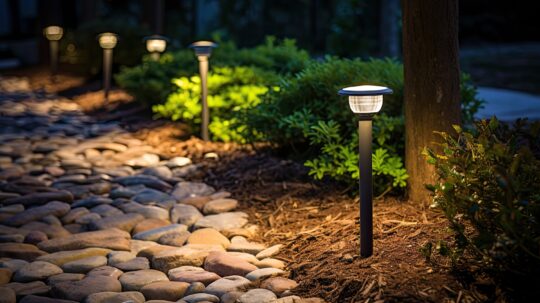
Solar-powered outdoor lighting harnesses sunlight to power fixtures for pathways or security without electrical wiring. It eliminates the need for grid-dependent exterior lights, lowering costs while improving visibility. This is suitable for enhancing energy independence outdoors. Simply install solar-powered lights in areas that receive direct sunlight
Worth keeping in mind for DIYers: Place lights where they’ll receive maximum sunlight during the day—shadows from trees, buildings, or other objects can significantly reduce performance.
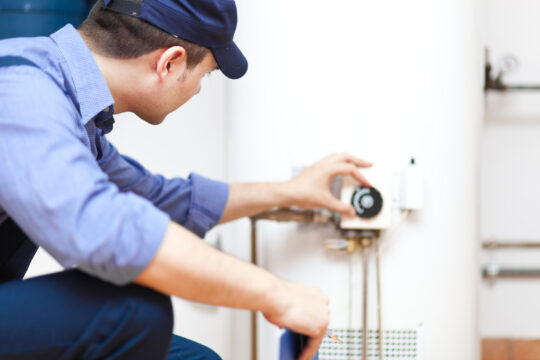
Programmable water heater timers schedule operation to align with your needs, such as during peak usage times. They prevent continuous energy use from heaters running around the clock, optimizing efficiency without affecting availability. This supports balanced energy management.
Worth keeping in mind for DIYers: Ensure your timer is rated for the voltage and amperage of your water heater, and follow electrical safety protocols during installation.
Not sure where to begin? Download the Pearl app today and unlock your home’s full potential. Assess its performance across the five SCORE pillars—Safety, Comfort, Operations, Resilience, and Energy. Discover tailored upgrades that align with your goals, uncover rebates to cut costs, and connect with Pearl-Recognized Professionals who can document your improvements to maximize your home’s value. Take the first step toward a safer, more comfortable, and efficient home—your healthier future starts now!